How to Build a Snow Volcano Experiment
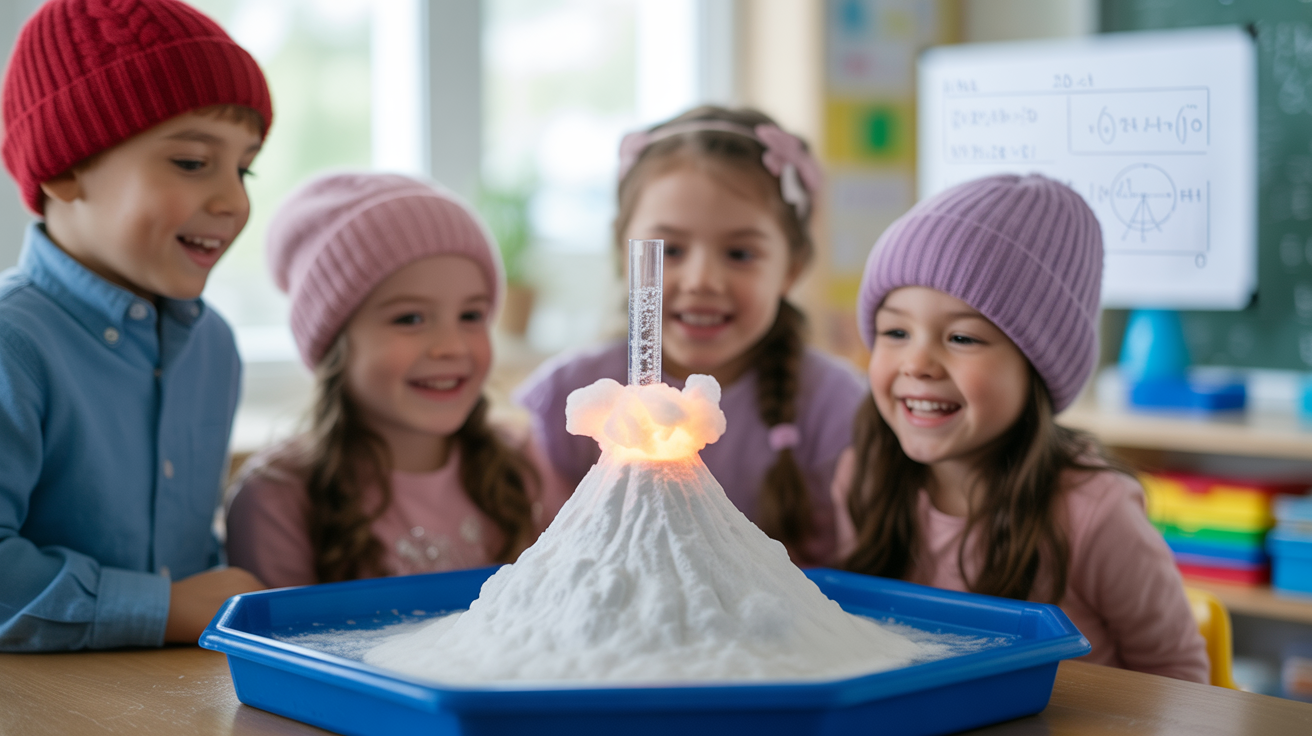
Ever wondered what happens when you combine snow with a volcanic eruption?
Get ready for a snowy science experiment that combines creativity, science, and fun!
This winter activity will convert your backyard into an exciting laboratory where children can witness the magic of chemical reactions while learning about volcanic eruptions in an entirely new way.
By using common household ingredients and the natural wonder of winter weather, children will observe how different substances interact to create spectacular eruptions that are both educational and entertaining.
The visual impact of colorful eruptions against white snow creates an unforgettable learning experience that combines outdoor play with STEM education.
What is a Snow Volcano?
A snow volcano is the most remarkable winter science experiment that turns your backyard into an explosive laboratory!
Picture this: your kids sculpt a mini volcano out of fluffy snow, creating a perfect crater in the center. Then comes the absolute magic moment that never gets old!
They drop colorful baking soda into their snowy crater, add some fizzy vinegar, maybe a squirt of dish soap for extra foam, and suddenly BOOM!
A spectacular rainbow eruption shoots up through the pristine white snow like an absolute volcanic blast from another planet.
The bright reds, electric blues, and vibrant greens create a stunning contrast against the winter landscape, which resembles something straight out of a science fiction movie.
Your little scientists will be squealing with pure delight as colorful foam cascades down their snow volcano, staining the white ground with brilliant streaks of color.
Materials Required
-
Snow: Fresh, clean snow or a snow-covered surface.
-
Baking Soda: The main ingredient for the eruption.
-
Vinegar: Reacts with baking soda to create the eruption.
-
Food Coloring: Optional, to add a fun colored “lava” effect.
-
Plastic Bottle or Cup: To serve as the base of the volcano.
-
Dish Soap: To create the eruption foam and prolong its duration.
-
Tray or Container: To catch the overflow and prevent a mess.
-
Spoons and Bowls: For mixing the ingredients.
Step-by-Step Instructions
Ready to create your own backyard winter wonderland of science? Follow these simple steps to build an unforgettable snow volcano that will have your kids talking about chemistry for weeks!
1. Build Your Volcano Base
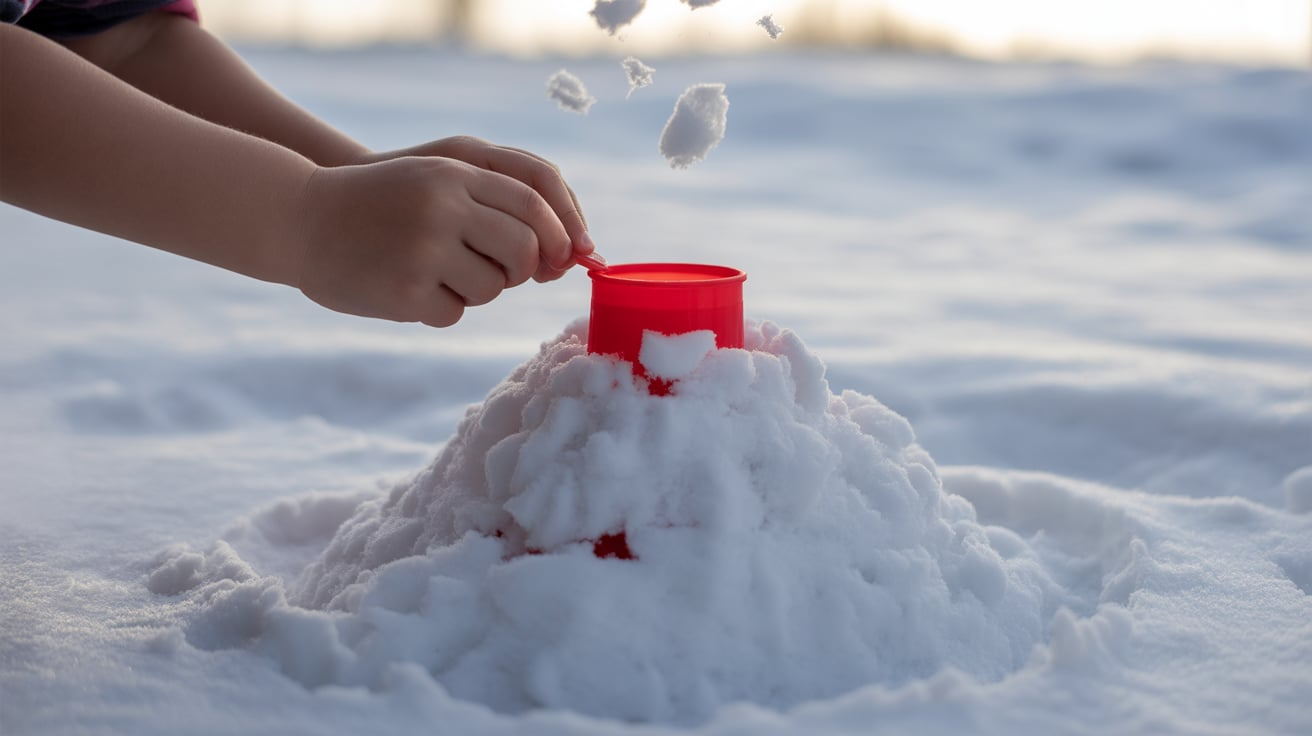
Start by finding the perfect spot in your yard with plenty of packed snow. Place a plastic water bottle or sturdy cup right in the center of your chosen area – this will be the heart of your volcano, where all the magic happens.
Now comes the fun sculpting part! Gather armfuls of snow and begin creating a mound around your bottle, packing it tightly to form the classic volcano shape.
Make sure to leave the bottle opening completely uncovered so your eruption can shoot skyward.
Pro Tip: Pack the snow firmly around the base and gradually taper it toward the top for that authentic volcanic mountain look. Your kids can get creative here – add ridges, slopes, or even small snow boulders!
2. Prepare the Eruption Ingredients
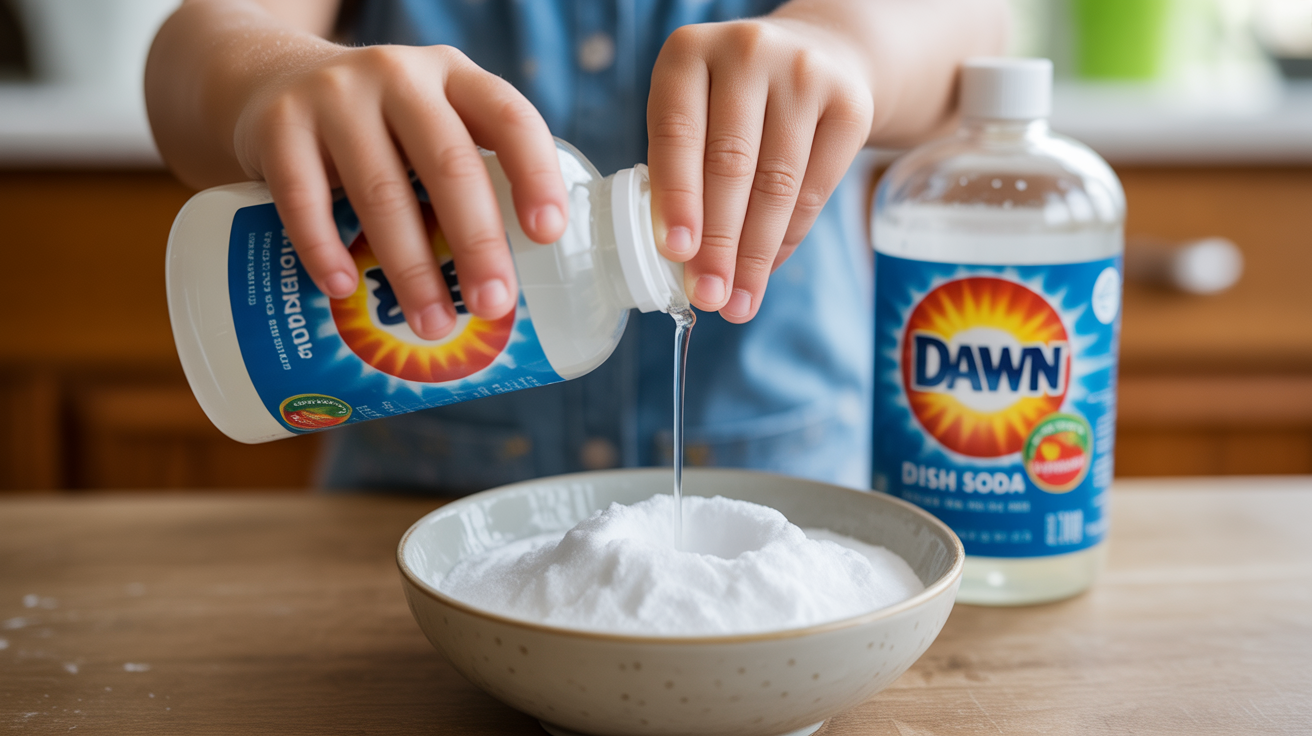
Time to gather your household chemistry set!
In a small bowl, measure out 1-2 tablespoons of baking soda; this is your secret eruption ingredient that creates all the fizzy action. For extra foam, add a small squirt of liquid dish soap to the baking soda and mix it together.
Want to create colorful lava that looks spectacular against the white snow?
Grab some food coloring and add 3-4 drops to a cup of white vinegar. Red creates classic lava, but blue, green, or even purple can make your eruption extra special and unique!
3. Start the Eruption
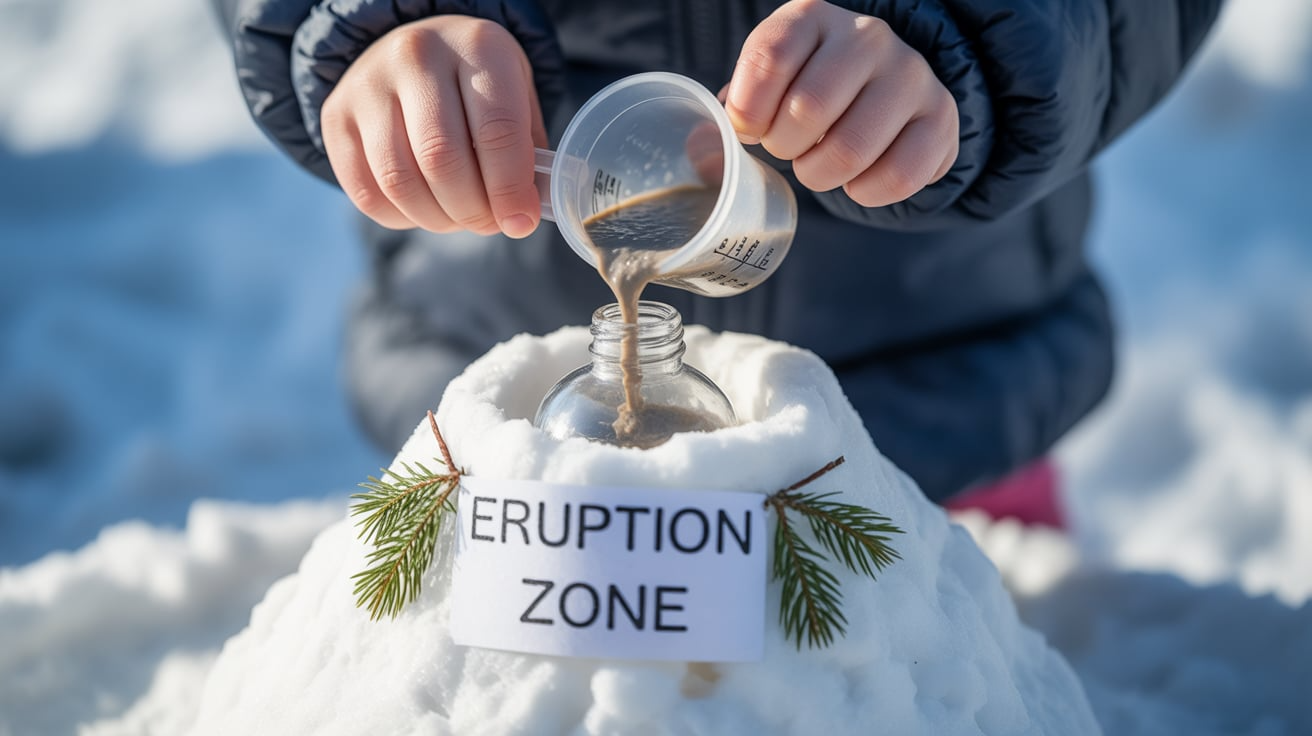
Here’s where the real excitement begins!
First, carefully pour your baking soda mixture into the bottle nestled in your snow volcano. Build up the suspense by counting down from 10, then slowly pour the colored vinegar into the bottle.
Watch as the chemical reaction creates an incredible foamy eruption that bursts through your snowy crater!
For Maximum Drama: Pour the vinegar quickly for an explosive start, or pour it slowly for a more controlled, longer-lasting eruption. Either way, your snow volcano will come to life with colorful, fizzy magic!
4. Repeat the Fun
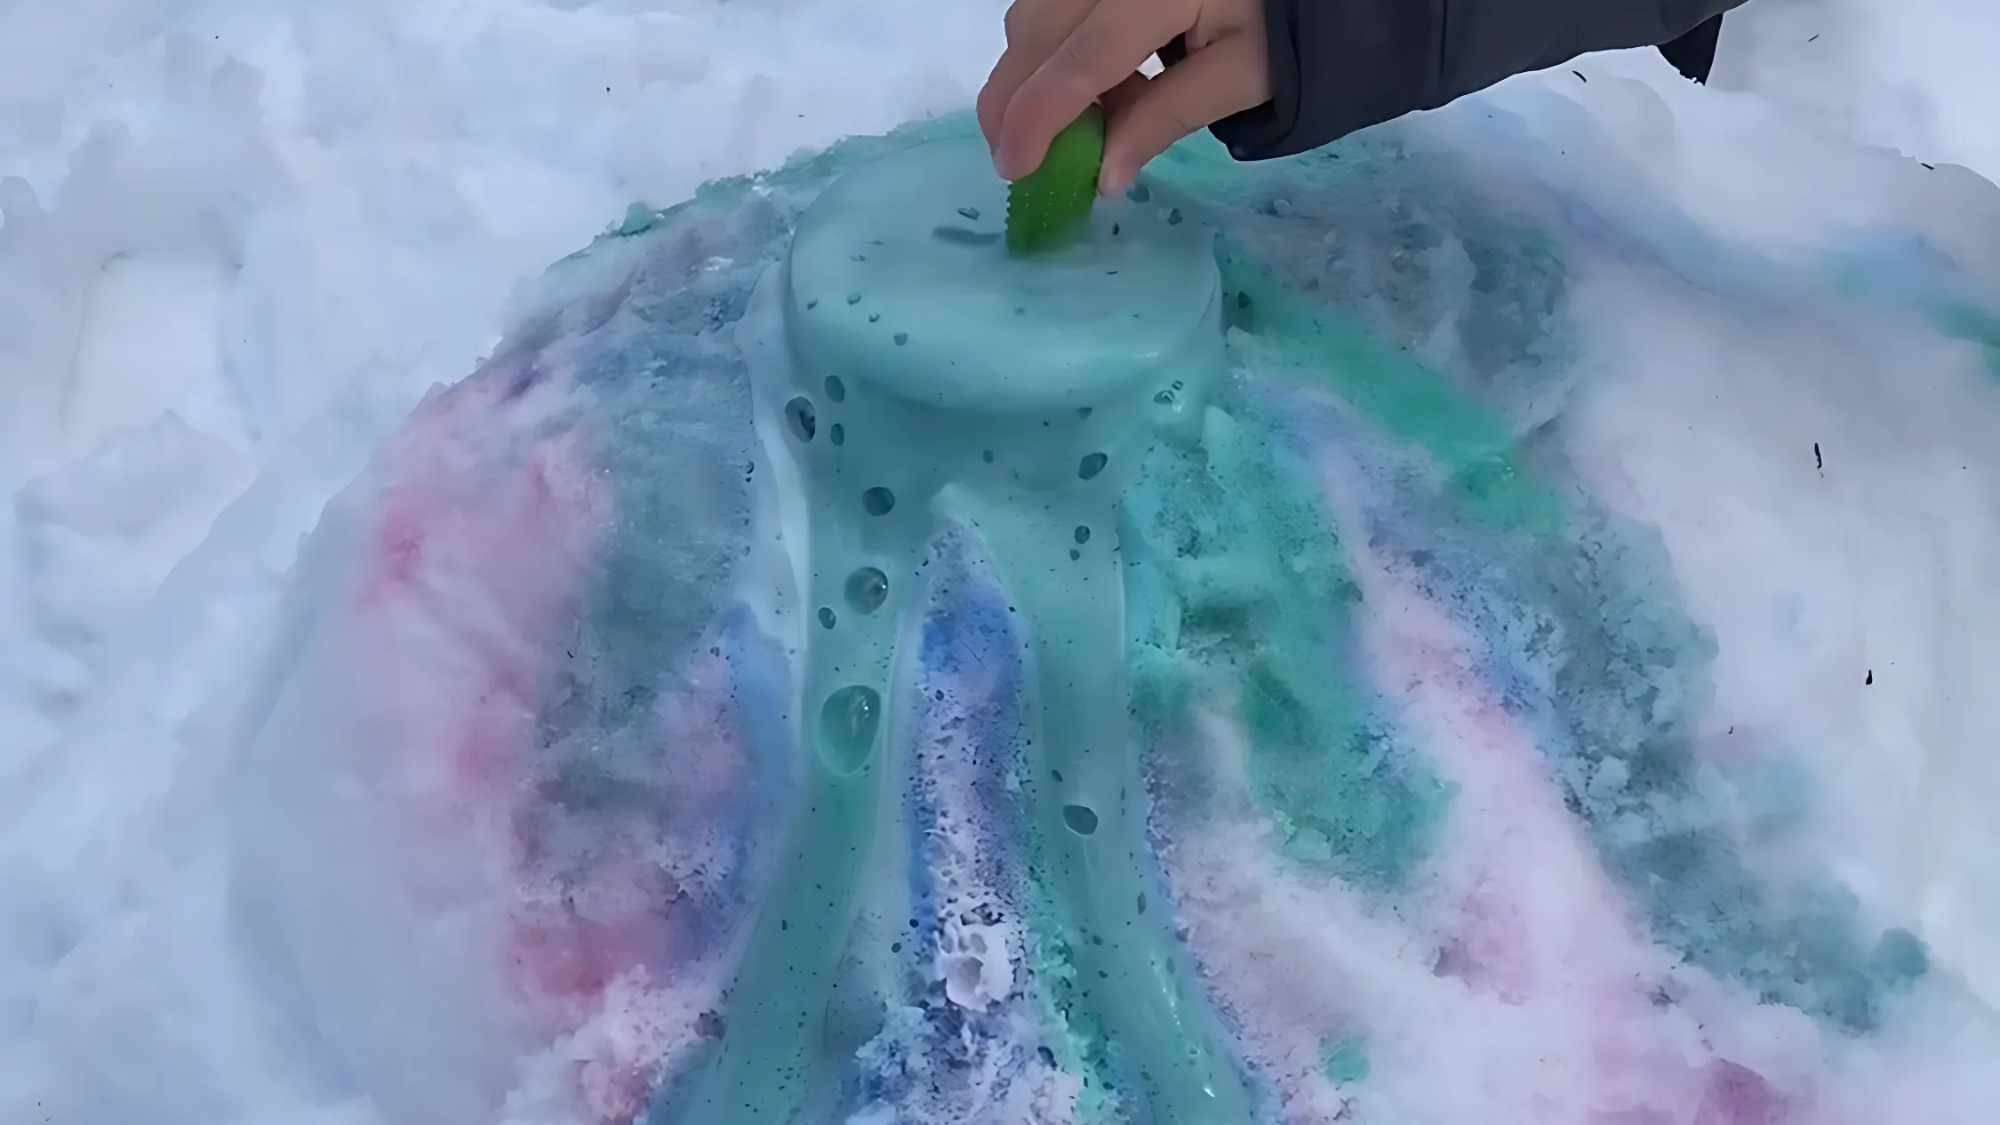
The best part about this experiment?
You can keep the excitement going! Add more baking soda and vinegar to create multiple eruptions in a row.
Try different color combinations – perhaps red and yellow for a sunset lava effect, or blue and green for an alien-like volcano experience.
Each eruption will be slightly different, keeping your little scientists engaged and allowing them to experiment with variations.
Bonus Challenge: Create multiple smaller volcanoes for a whole volcanic mountain range, or time your eruptions to go off simultaneously for an epic volcanic light show in the snow!
Understanding the Science Behind It
Now that you’ve witnessed the spectacular eruption, let’s learn into the fascinating science that makes this snowy experiment work!
What’s Happening
The colorful explosion you just created is a classic chemical reaction happening right before your eyes!
When baking soda (which scientists call a “base”) meets vinegar (an “acid”), they don’t just mix, they turn into something completely new. This reaction produces carbon dioxide gas, the same harmless gas we breathe out.
As this invisible gas rapidly forms inside your bottle, it needs somewhere to go, so it pushes upward and outward, creating that exciting bubbling eruption effect.
Think of it like shaking a soda bottle – the gas builds up pressure and then bursts out when it finds an escape route!
The dish soap acts like a helpful assistant in this experiment, trapping those tiny gas bubbles and creating thick, long-lasting foam that makes your eruption look even more dramatic and volcano-like.
Why Snow?
The cold snow isn’t just a picturesque backdrop; it plays a crucial scientific role in your experiment.
Cold temperatures slow down chemical reactions, which means your eruption lasts longer and looks more impressive than it would on a warm summer day.
The snow also provides an incredible visual contrast, making those bright-colored eruptions pop against the white winter landscape like a natural spotlight.
Additionally, the cold helps the foam stay stable for longer, allowing you more time to observe and enjoy the reaction. It’s like nature is helping your science experiment become even more spectacular!
Fun Fact: “This experiment mimics how real volcanoes erupt, where gases and materials are expelled from the earth.”
Tips and Variations
These creative variations will keep the excitement going and turn a straightforward activity into hours of educational winter fun that grows with your child’s curiosity and imagination!
1. Make It Bigger: Think your eruption was impressive? Wait until you see what happens when you go supersized! Use a large 2-liter soda bottle instead of a regular water bottle, and pack tons of snow around it.
2. Explore Different Shapes: Create a wide, gently sloping shield volcano (like those in Hawaii) by spreading your snow base wide and low. Or build a tall, narrow cone volcano with steep sides like Mount Fuji.
3. Add Extra Fun: Place small toy dinosaurs around the base and pretend they’re witnessing a real Jurassic eruption. Add plastic trees, action figures, or even LEGO buildings to create a thrilling disaster movie scene.
4. Science Journaling: Turn your snow volcano into a proper scientific study by encouraging kids to document their experiments like real researchers! Record their observations and conclusions.
Conclusion
Science doesn’t have to be complicated or confined to textbooks – it can be as simple as mixing a few household ingredients and watching magic happen in your backyard!
This snowy volcano experiment demonstrates that learning can be enjoyable when curiosity is combined with creativity.
Encourage your little scientists to think about other exciting experiments they can try using everyday items from your kitchen or garage.
These moments of finding build confidence in young learners and create positive associations with science that can last a lifetime.
Share photos of your colorful eruptions or tell us about other science experiments your kids have enjoyed in the comments below. Your ideas might inspire other families to try new adventures in backyard science.


