What Steps Help You Keep Your Paint-by-Numbers Lines Neat and Controlled?

Keeping paint-by-numbers lines neat and controlled helps the artwork look cleaner and more polished. A steady hand matters, but so do the small choices that shape each part of the process, from brush size to paint texture.
Simple habits such as dividing the canvas, applying thin layers, and blending edges lead to a smoother final result.
This approach allows the painter to focus on accuracy instead of mistakes. By paying attention to each step, they can keep lines clear, colours balanced, and sections easy to manage. The result feels more natural and well-detailed, turning a simple paint-by-numbers project into a piece they can confidently display.
Use Sectioning to Divide the Canvas Into Manageable Parts
Dividing the canvas into smaller parts helps the painter stay organised and reduces the chance of smudging wet paint. Each section can be worked on separately, which gives better control and more even colour coverage.
This method also makes it easier to see progress and avoid missing small numbered areas.
A high quality paint by numbers kit often comes with a detailed layout that supports this approach. Starting from one corner and moving steadily across helps keep lines clean and prevents hand strain. Tape or light pencil marks can guide the division without damaging the surface.
By focusing on one section at a time, beginners can maintain steadier brush strokes and avoid rushing the process. It also allows time to inspect colours and edges carefully before moving to the next part. As a result, the finished painting looks more accurate and polished.
Choose Fine Brushes for Precise Painting Along the Lines
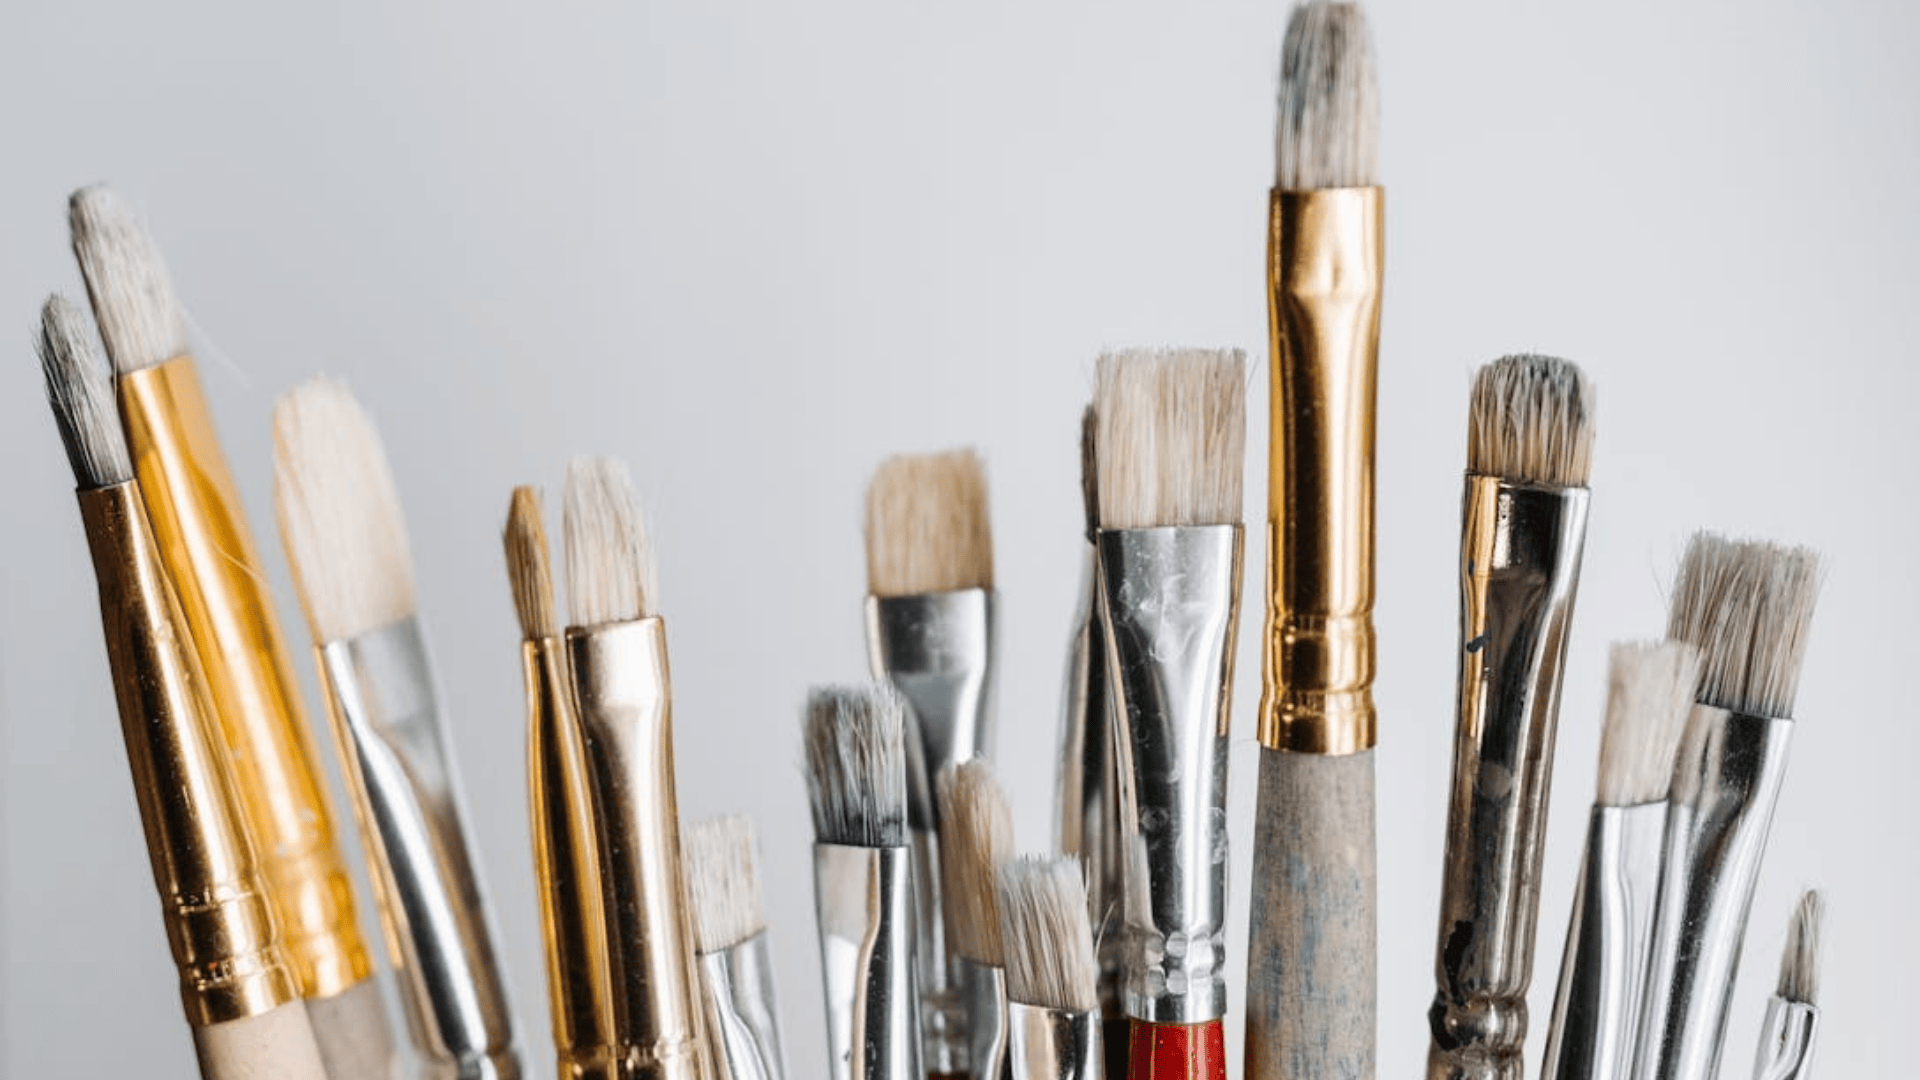
Small, fine-tipped brushes allow better accuracy and smoother edges in paint-by-numbers projects. Brushes in sizes 0 or 1 control paint flow and help fill narrow spaces without overlapping colours. The smaller tip also prevents extra paint from spreading beyond the intended area.
A firm yet flexible brush gives steadier strokes along borders and corners. Synthetic bristles often hold their shape well and provide even coverage with less streaking. Therefore, they suit tasks that demand careful control.
Artists often prefer liner or detail brushes for curved or tight areas. These tools help guide the paint exactly where it is needed without covering marked outlines.
In addition, cleaning the brush between colour changes keeps each section neat and defined.
High-quality brushes also last longer and maintain their fine points with proper care. As a result, they continue to produce sharp, tidy lines through many projects.
Apply a Thin Base Coat to Match Colours Before Layering
A thin base coat helps create a clean surface that supports later colour layers. It gives an even tone under lighter shades and hides marks or uneven primer. This step also helps the final colours appear consistent from section to section.
Before applying paint, the surface should be dry and free from dust. A small, soft brush helps cover each area neatly without touching the dividing lines.
The goal is to apply smooth paint that does not obscure the printed numbers or lines.
Thin the paint slightly with water for better control. Two light layers usually work better than one heavy coat because they dry faster and keep details sharp. Each layer should dry fully before the next is added. This reduces streaks and creates a smooth base.
Applying this kind of preparation keeps colours true, limits visible brushstrokes, and makes the next layers easier to blend.
Allow Paint to Dry Completely Between Layers to Avoid Smudging
Each layer of paint must dry fully before the next one goes on. Fresh paint can mix with wet areas underneath and cause colours to blur or create uneven textures. Giving the first coat enough time to set helps every colour stay clean and sharp.
Drying time depends on the type of paint, the thickness of each coat, and the room’s temperature or humidity.
Acrylics often feel dry to the touch in less than an hour, yet the surface may still be soft beneath. Waiting longer allows the layer to harden completely and prevents smears.
It helps to test a small corner before applying more paint. If the surface feels firm and cool, it is ready. Patience at this stage makes the finished design look tidy and controlled. The result appears smoother, with every number section clearly defined.
Blend Edges Carefully to Soften Visible Lines
Soft edges help a paint‑by‑numbers piece look smoother and more natural. Harsh borders can make colours appear separate, while gentle blending allows them to meet in a subtle transition. This small step can turn stiff outlines into pleasing colour shifts.
To create a soft edge, an artist can apply a tiny amount of wet paint next to another wet patch.
The colours mix slightly, which helps the border fade rather than stand out. A damp, clean brush can also glide over the edge to merge the tones together without disturbing the shape.
It helps to work quickly, as paint that dries too soon resists blending. Some artists use short, light strokes or tap the edge to ease one shade into the next. The result looks smoother and more balanced, helping each area connect with the rest of the painting.
Conclusion
Neat, controlled lines result from patience, steady hand movements, and proper brush care. A painter who plans each step tends to avoid smudges and uneven edges. Short strokes give better control and make colour coverage smooth.
Clean tools and the right paint thickness also matter. Paint that is too thin may leak into other areas, while thick paint can blur borders. Adjusting consistency helps keep colour inside each space.
Consistent lighting and good posture further support clean work. Painters who sit comfortably and keep their hands steady often achieve sharper results and fewer touch-ups.
They can build skills through steady practice and slow, careful progress. By using these small, simple habits together, anyone can create a neat finish that looks polished and precise.